arlo

Netgear Arlo Login Page

arlo

Netgear arlo login

Your home security is improved with Login Arlo as you set up your Netgear cameras. This post will guide you through a few simple and expedient procedures to finish your Arlo login. To learn more about us and the problems with Netgear camera setup and login, please visit our official website.

Everything you should know about the Netgear Arlo Camera

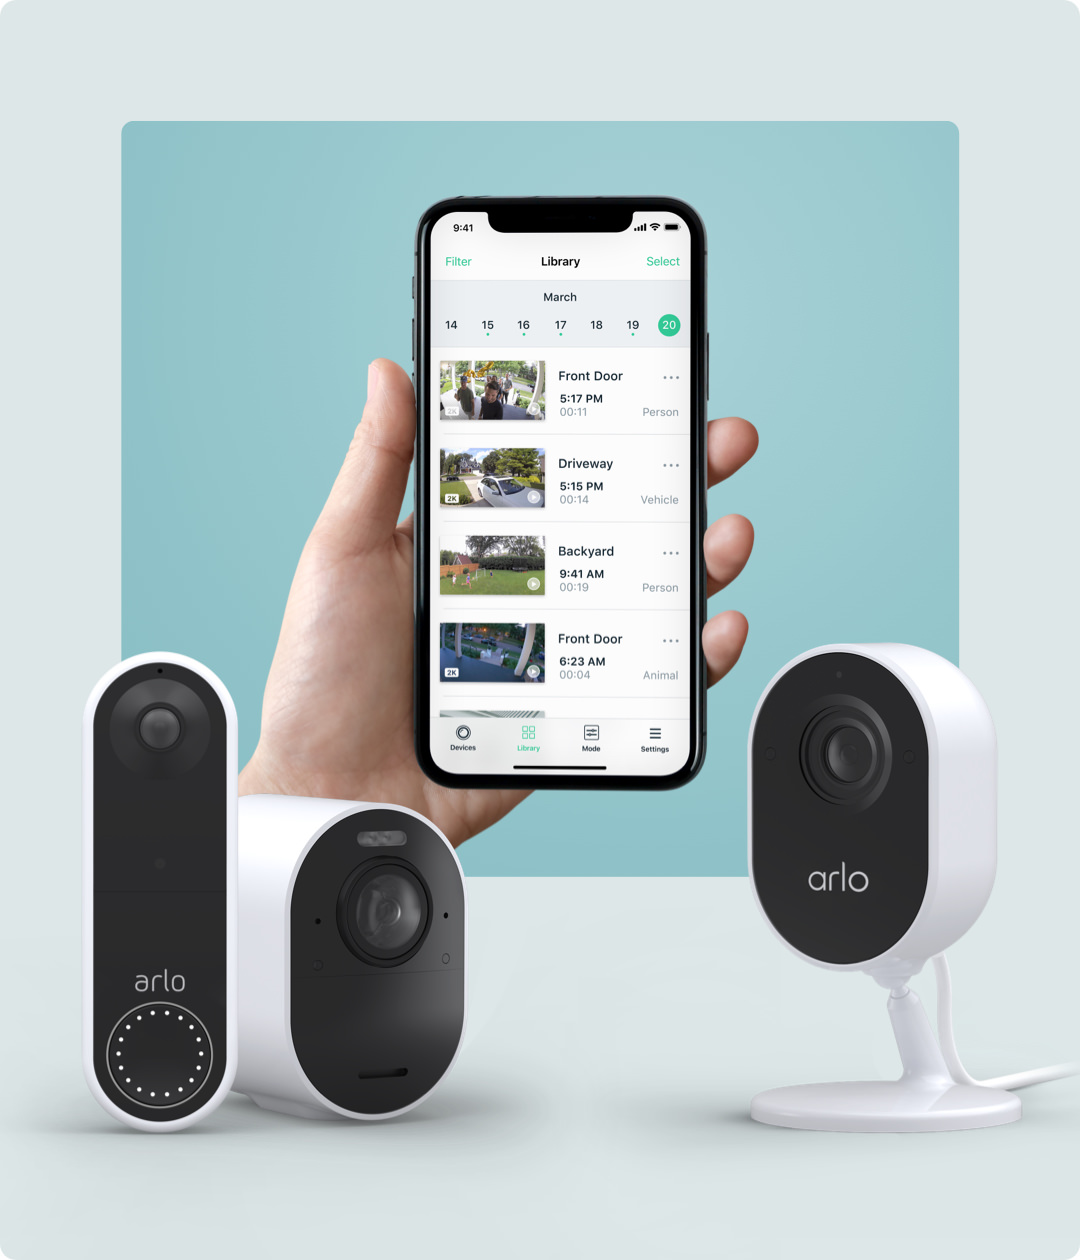
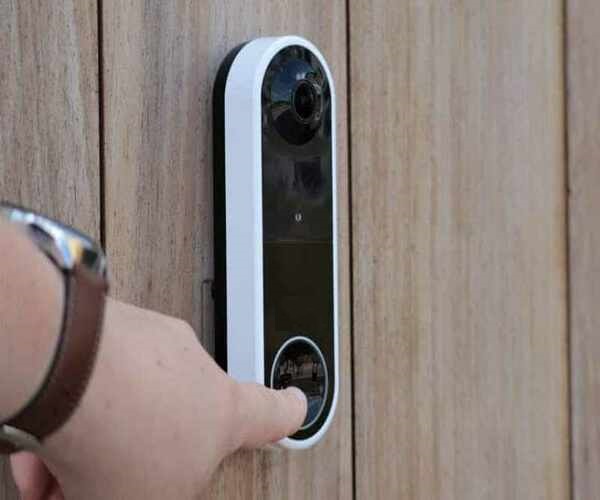
Every time you go away from home, do you worry about security? The NetGear Arlo Camera is no longer a cause for worry. Arlo Camera has cutting-edge features that can boost your mood. The best feature of the camera is how quickly and simply Arlo setup and login can be done.

Through the Arlo App, you can also keep an eye on and manage any NetGear Arlo Login setup.

ARLO LOGIN SETUP PAGE GUIDE

Netgear Arlo camera setup


You can connect them and turn it on before starting the Arlo camera setup. Here are some instructions for preparing your Arlo camera ready for setup:


  • Take an Arlo camera and, while pressing and holding the button on it, open the battery compartment.
  • After that, carefully place the batteries into the Arlo camera. Make sure the batteries are in their proper place before putting them. The battery compartment should then be properly closed.
  • You may now sync your Arlo camera with the base station.
arlo

MY.ARLO.COM LOGIN SETUP

arlo

How to use the Arlo app to log in?

  • Installing and then activating the Arlo app on your smartphone is the first step. The Arlo Camera button may then be selected.
  •  When the NetGear Arlo Login Page displays on the smartphone screen, you may simply click on the Login or Sign-in option.
  • Complete the necessary fields, including the email address and password, on the login page.
  • Please keep in mind that you must provide the same information you used when setting up your new Arlo account.
  • After that, you can enter the Arlo login setup by just clicking login.

Note:- If you need any assistance regarding your Arlo camera setup,so feel free and contact our technician or visit Netgear Arlo Setup.

Netgear Arlo Login Page

arlo

NETGEAR ARLO CAMERA LOGIN

HOW TO INSTALL AN ARLO BASE STATION

  • Connect the Arlo base station’s power wire to it, then connect the other end into a wall socket.Press the power button to turn on your base station.
  • The next step is to connect your wireless router to the base station using an Ethernet connection.
  • Hold off until the power and internet lights are all green.
  • The Arlo base station has been set up. To start with the primary setup procedure, you can follow the procedures listed below.


arlo

ARLO SECURITY CAMERA LOGIN

arlo

What to have on hand when setting up an Arlo camera with ARLO.NETGEAR.COM

  • To connect your Arlo base station to the current router, use an Ethernet wire.
  • Pick up a tablet or phone.
  • working internet connection required for Arlo app download.
  • WiFi username and password already in use.
  • browsers that can access arlo.netgear.com


Note: Without an Arlo Base Station, your Arlo security cameras will not function. 

This device links your home network to Arlo security cameras. So, be sure to install Arlo Base Station utilising ARLO.NETGEAR.COM to complete a successful Arlo Pro2 setup.

Follow the steps below to set up Arlo Security cameras with a base station:

  • To open the battery compartment, first press the clasp and gently pull it.
  • Correctly place the battery in the battery compartment.
  • The camera should be placed nearer the base station.
  • For three to five seconds, press the sync button on the base station’s side.
  • When the sync LED goes green, wait a while.
  • The sync button on the camera’s top must now be pressed.
  • Watch for the base station’s camera LED to turn completely green.
  • If the camera LED illuminates solidly in green, the sync operation is complete

ARLO CAMERA LOGIN

arlo